
 Bring on the parades, parties and fireworks! Tomorrow is the 4th of July, and I am so excited to spend the day with family and friends, honoring this country, our freedom and those who have fought so hard to protect America and its people.
My family has been hosting a party on the 4th of July for as long as I can remember, and it is definitely one of my favorite family traditions. The celebrations kick off tonight with a sleepover at my parents’ house before walking up the block to my town’s parade the next morning. After the parade, we switch into complete party-mode! From making sure the flag is waving proudly to constructing a menu of foods that everyone can enjoy, it truly takes a village! With a full night and day planned, the easier the menu items are to make, the better!
One of my favorite desserts to make for parties is a trifle dish — and no, I am not talking about Rachel’s English Trifle; I am talking about my Stars, Stripes & Trifles dish! It only requires six ingredients, a trifle dish and a knack for stacking! Read on for how you can make this dish to bring to your own 4th of July BBQ!
Note: I used a small trifle when constructing this dish. 1 cake mix will be good for a large trifle, but you may need to double the rest of the ingredients!
Stars, Stripes & Trifles

Ingredients
• Yellow Cake Mix
• Vanilla Pudding
• Cool Whip
• Fresh Strawberries (large container)
• Fresh Blueberries (large container)
• Jar of Cherries (1 large)


Directions
Bake the yellow cake mix according to package instructions; let it cool completely before assembling dish.
Once cake has cooled, cut into small pieces. Layer the cake, covering the entire bottom of the dish.

Spoon in vanilla pudding on top of the cake, completely covering it.

Cut strawberries into quarter inch pieces and layer to cover the pudding layer. I double-stacked strawberries here!

Add a layer of cool whip to cover the strawberries.

Layer blueberries on top of the cool whip layer.

Repeat the layering process until almost at the top of the trifle dish — cake, vanilla pudding, strawberries, cool whip, blueberries. Keep in mind that the point of the dish is to showcase the red, white and blue stripes layered throughout, so try not to put too much pressure on each layer as you are adding on, otherwise the layers will merge together.
Once the dish is almost filled to the top, cover the final layer with cool whip.
Note: Try to use cake or strawberries as the final layer, as blueberries will be used on the top of the dish.

Use the jar of cherries to decorate the rim of the trifle. Be sure to dry the cherries before placing them on the cool whip layer to avoid the juices dripping down the dish.
Once the cherries cover the entire outer rim, fill in with blueberries.
Keep the dish refrigerated until ready to serve.

God Bless the USA — and trifle dishes! I hope you enjoy this patriotic twist on dessert! Happy 4th of July everyone!
 T
T In the past, we have always tried to travel somewhere new for our anniversary, but this year, we chose to do something different. Life has been pretty busy these days, and our work schedules are completely opposite, so we
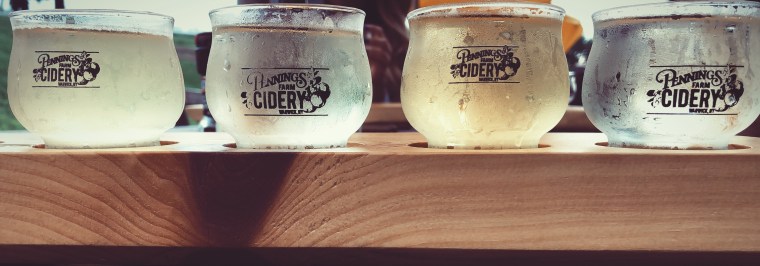
 Demarest Farms
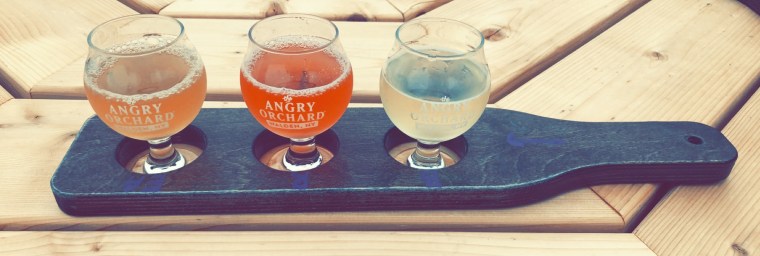


 When it comes to melting chocolate, my mom and I have found that melting a handful or two of the chocolate melts at a time in the microwave is the fastest and most efficient way to work. We start by microwaving the chocolate in a small bowl for 30 seconds. We then stir the chocolate, and put it in for another 15 seconds. We repeat the stirring process and continue melting the chocolate for seconds at a time until it has a nice, smooth consistency. Every microwave is different, so be careful when heating the chocolate. If you overheat the chocolate, it will burn.
 Once that is complete, place the molds into the freezer for 20 minutes. After 20 minutes are up, remove the molds from the freezer and turn the molds over to remove the Oreos. Lightly pressing on the mold should release the Oreos easily. Place them on wax paper for decorating.
